






Email:


PRODUCTS
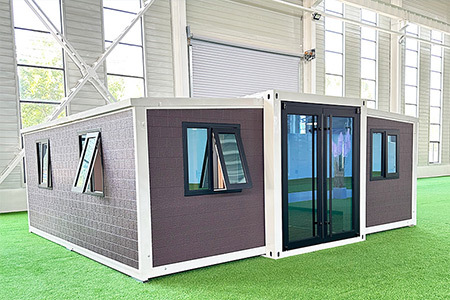
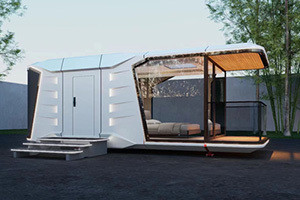
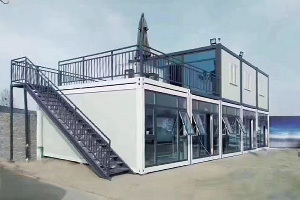
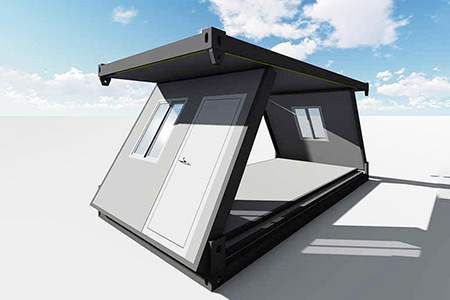
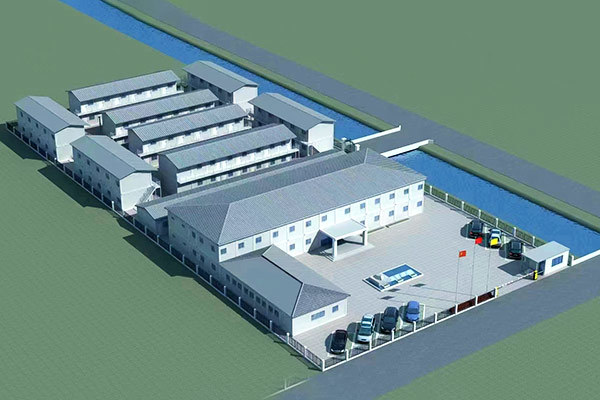
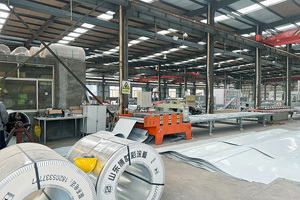
Customized production base of assembled integrated house
The bottom frame is connected with screws to the bottom cross beam and the bottom side cross beam, purlin 8*4 square pipes x9 are connected with screws
View Details
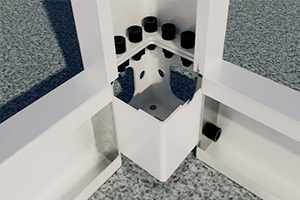
Each column is fixed with six sets of hexagon socket bolts, and the column screws do not need to be tightened
View Details
The top frame is connected to the top beam and the top side beam with screws, and the drain hole faces outward.
View Details
Install three horizontal square pipes and fix them at the welding angle of the top short beam.
View Details
The edge of the ceiling tile shall be hammered with rubber to seal and glue around. It is strictly prohibited to directly trample on the single roof tile during construction. It is necessary to prepare two square pipes to assist construction before stepping on the square pipe.
View Details
Contact Us
WhatsApp:
No. 58, Jiaoxiang Road, Jiaozhou City, Qingdao City, Shandong Province,China
LEAVE A MESSAGE
Message consultation
Copyright©2023 Shandong Liansheng Intelligent Manufacturing Co., Ltd. All Rights Reserved. Powered by:300.cn Weifang| SEO | Urban substation